If you want to make changes to your WordPress website without touching the original plugin or theme files, you need a child theme. A child theme is a separate theme that inherits all the functionality and style of your main theme (called the parent theme).
This can be very useful, because it allows you to make customizations like adding CSS or changing templates. If you hardcode the parent theme or plugin files directly, you risk losing your changes when they update. Using a child theme them safe, so updates will not overwrite your work.
What is a Child Theme?
The primary purpose of a child theme is to let you customize your site safely without hardcoding any core files. You can make changes to the theme, WordPress core, or plugins in a separate directory without touching their original files.
Making changes directly in core theme files can be risky and hard to track, sometimes even affecting essential security features. A child theme keeps all customizations in one place, making them easier to manage.
This also means you can update WordPress, themes, or plugins without overwriting your custom code. Any changes in the child theme remain intact after updates, and if something goes wrong, you can revert to the parent theme without losing your work.
How to Set Up a Child Theme?
In WordPress, you may set the child theme in one of two main ways. If you are familiar with web development, you can use FTP to set it up manually without additional tools.
For beginners, the process can be simplified with an online generator or a plugin, which handles most of the setup automatically.
Creating a Child Theme Using FTP
To connect to your website's server you can use any FTP tool such as FileZilla, Transmit, WinSCP.
- First, locate the WordPress files on the server and open to the "wp-content/themes" directory.
- Next, create a new folder within that directory and name it whatever you like.
- Add this to the top of style.css file:
/*
Theme Name: My Child Theme
Description: My custom child theme for WordPress
Author: John Doe
Template: twentytwentyone
*/- Replace "My Child Theme" with the name of your child's theme, your own description, and your name instead of "John Doe".
- You should also change "twentytwentyone" to the name of the parent theme folder.
- Now, upload another file named functions.php and insert the following code:
<?php
add_action( 'wp_enqueue_scripts', 'embed_parent_styles' );
function embed_parent_styles() {
wp_enqueue_style( 'parent-style', get_template_directory_uri().'/style.css' );
}- Save the functions.php file and close it.
- After uploading, activate the child theme from "Appearance -> Themes".
Generate a Child Theme Using a Plugin
The Child Theme Configurator plugin automates creation of the necessary files for users who prefer not to code. All you have to do is choose which parent theme you wish to enhance. It will create the necessary files and directories for your child theme, making the process much faster than FTP.
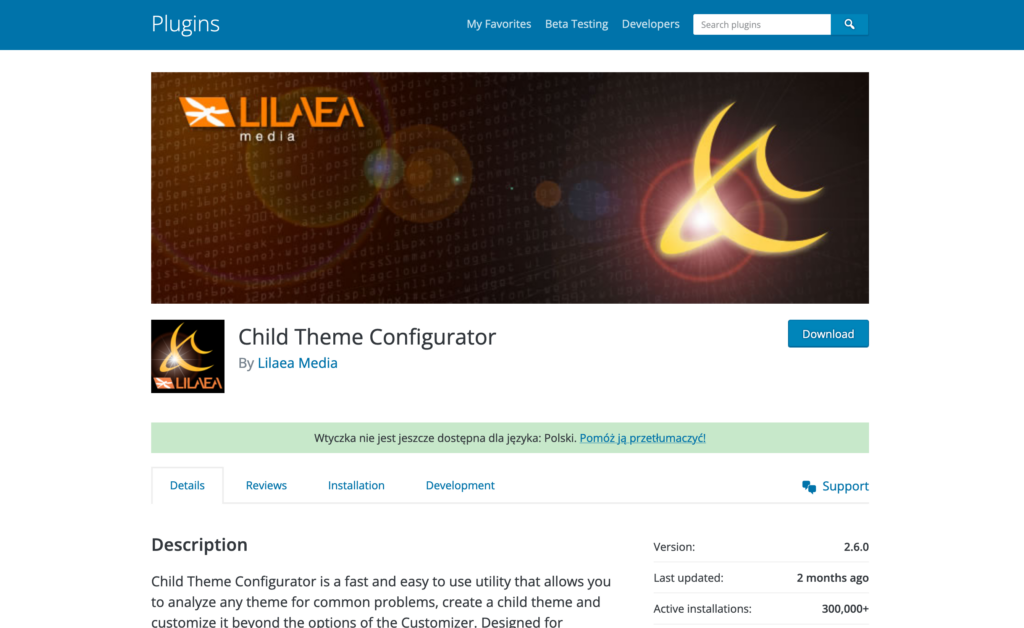
Use the instructions below to get started with this plugin. Watch the tutorial videos on the plugin developer's website if you require additional clarification.
- Install and activate the Child Theme Configurator plugin.
- Open "Tools > Child Themes" in the admin dashboard.
- Choose the parent theme that you want to use as the base.
- Enter a name and description for your child theme and adjust the settings.
- Click the "Create NEW Child Theme" button.
- Your child theme is now ready to use. You can easily activate it from the "Appearance > Themes" section inside your WordPress dashboard.
Generate a Child Theme Online
There are two main options for creating a child theme without using FTP. The first option requires installing additional plugins. However, if you prefer not to install additional plugins, there is another convenient method available.
This second method does not require manually creating any files in the themes directory using FTP. Instead, it allows you to create a child theme without having to access the server files.
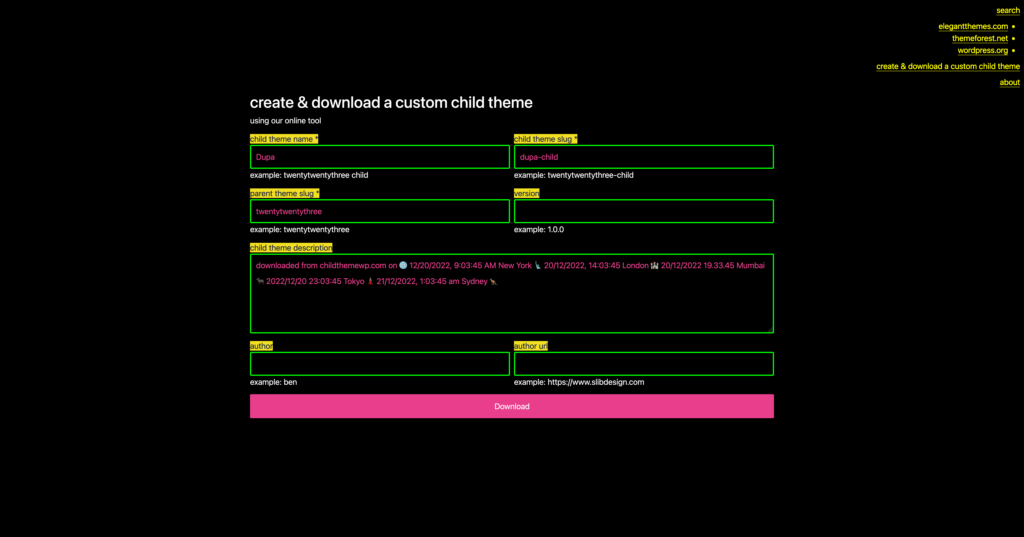
Creating a child theme with the generator is a straightforward process. First, simply click the provided link to access the form. From there, enter the name you wish to give your child theme and the "slug" or short name of the parent theme it will inherit styles from.
After submitted, the generator will generate the necessary child theme files for you based on the information provided. Once this is finished, you may download a ZIP file with your child theme files.
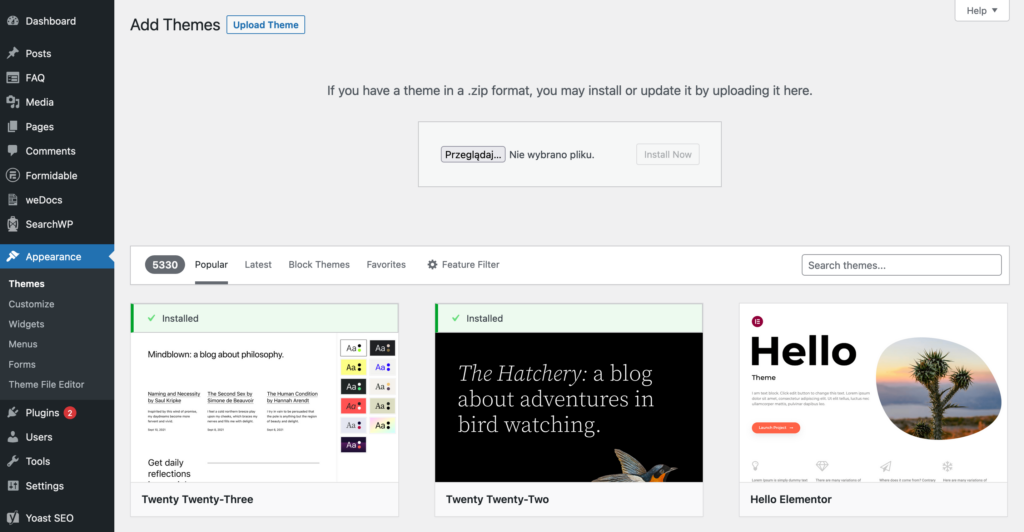
Now all it takes to install the child theme is to upload the ZIP archive. The process is similar to that of installing a premium WordPress theme.
- While on the "Appearance -> Themes" page, click the "Add New" button near the top. This will bring up a page with a "Upload Theme" button. Click on this button and select the ZIP file with the child theme you generated.
- Click the "Install Now" button to upload the theme files and install it. Once the theme has been installed, you will see a confirmation message. Then, click "Activate" to use the new child theme.
Leave a Reply