You can install Permalink Manager Pro the same way you would any regular WordPress plugin. The setup takes only a few of clicks and after activation, the plugin is ready to use.
To upgrade to Permalink Manager Pro, from the Lite version, follow the exact same installation steps. You do not need to keep Lite installed, and removing it will not affect your site and all your settings, and permalinks remain unchanged.
Both versions share the same core code, but they can work independently. Activating Pro automatically deactivates Lite and there is no need to keep both installed.
How to Download the Plugin Files?
In order to get the plugin files, please enter your license key into the form below.
Installing the Plugin
From Admin Dashboard
The quickest and most convenient method to install the plugin is to use the admin dashboard.
- Download the ZIP archive with plugin files.
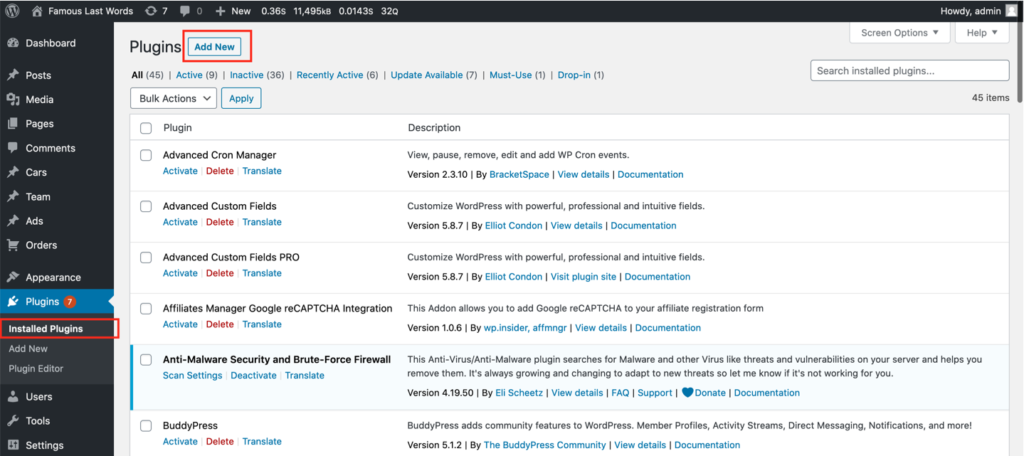
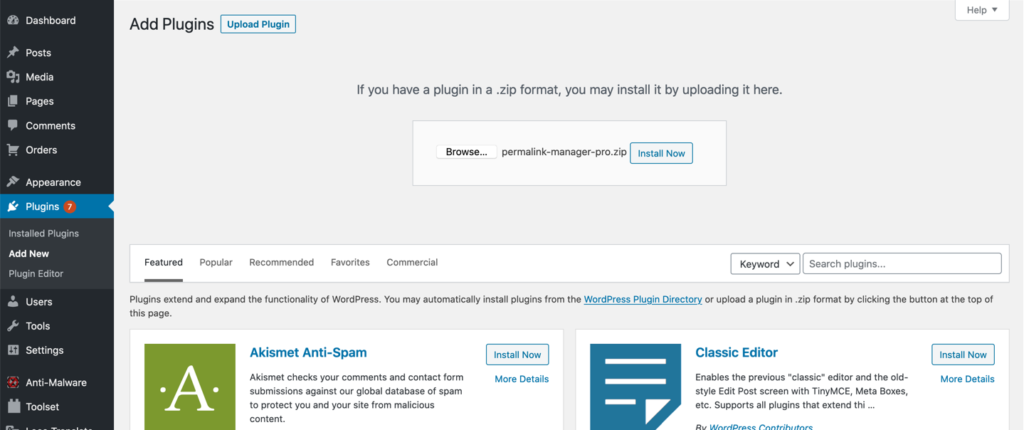
- Go to “Plugins -> Add new -> Upload Plugin”.
- Select the ZIP file from local drive & upload it.
- Activate the plugin in ‘Plugins’ section.
Alternative Method (via FTP)
- Download the ZIP archive with plugin files.
- Extract the ZIP archive and upload the extracted folder to the "/wp-content/plugins/permalink-manager/" directory.
- Activate the plugin in ‘Plugins’ section
How to Activate the Plugin?
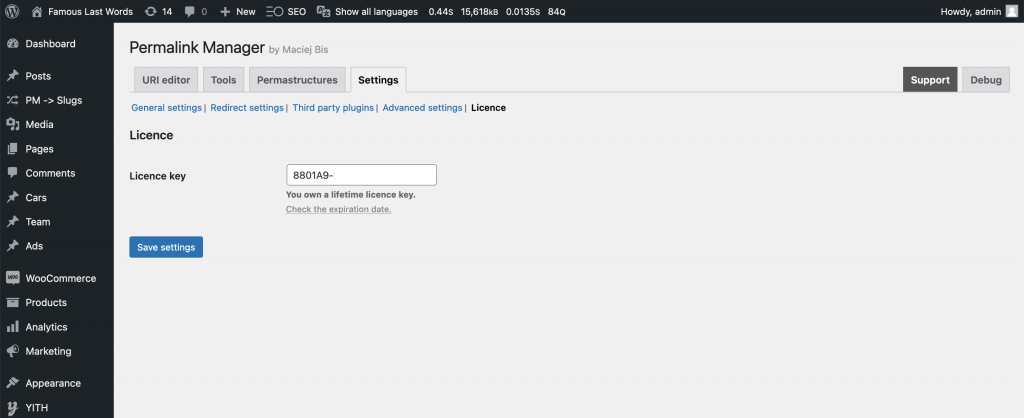
To activate automatic updates, enter your license key in the plugin settings in the "License key" field. You can find it inside "Tools -> Permalink Manager -> Settings -> Licence" section.
You do not need to take any additional steps, because the license key is automatically validated on the plugin’s server during update checks.
Updating the Plugin
No matter which method you use to update the plugin, all of your data, including settings and custom permalinks, will stay intact throughout the update process.
Automatic Updates
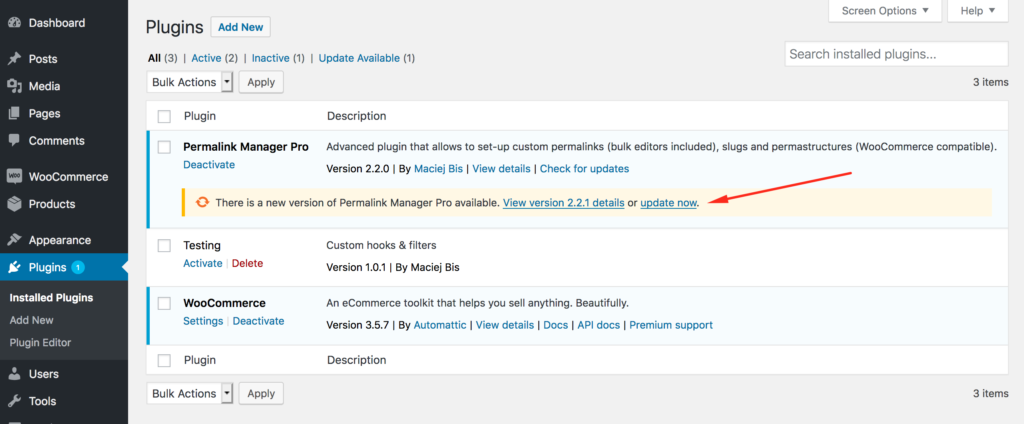
Whenever a new version of the plugin is released and your license is still active, you can update it directly from the admin dashboard. This process is identical to updating any other plugin.
Open the "Plugins" admin page, locate the "Permalink Manager Pro" row in the list, and click on the "Update Now" link.
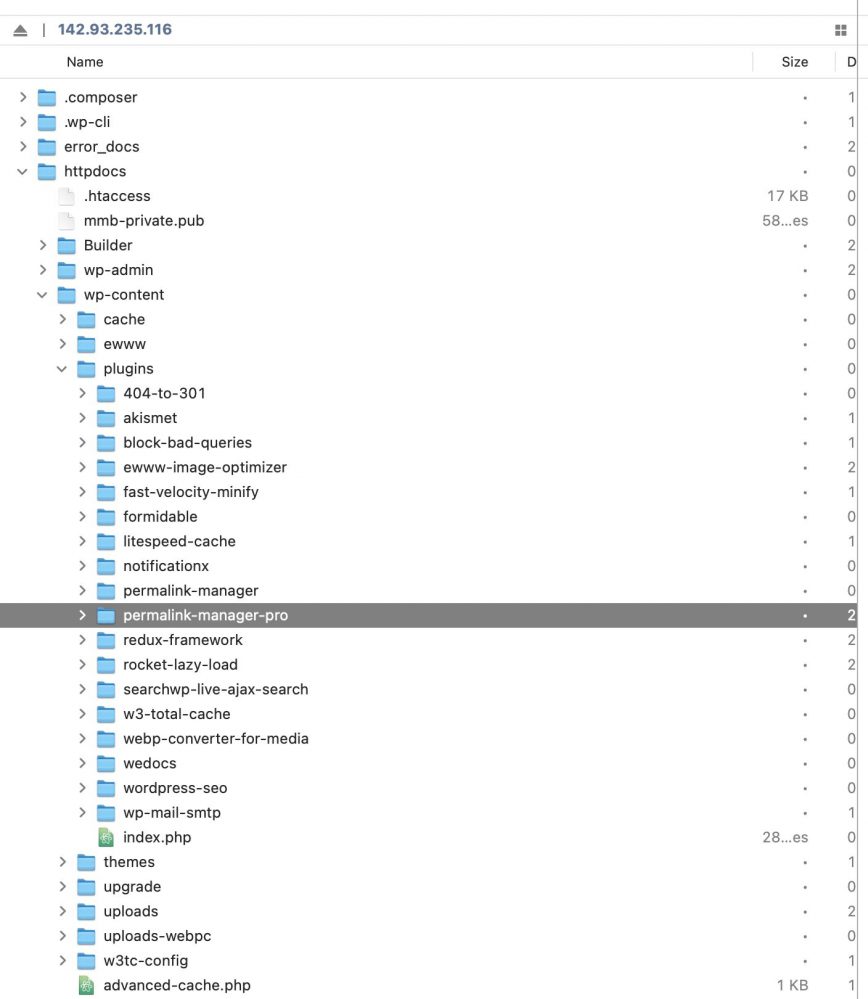
Manual Update (via FTP)
To access the plugin files, go to the "License info" page and enter your license key. The download is only available if your license is valid and has not expired.
After downloading the ZIP archive, unzip it and upload all the extracted files into the /wp-content/plugins/permalink-manager-pro/ folder.
To update manually, remove the /permalink-manager-pro/ directory, then upload all files extracted from the ZIP archive with the newest version of the plugin.